How to Create Instructional Videos: Easy Step-by-Step Guide
Learn how to create instructional videos with this step-by-step guide. Follow actionable instructions to produce effective and engaging content.
Birju
Author
How to Create Instructional Videos: Easy Step-by-Step Guide
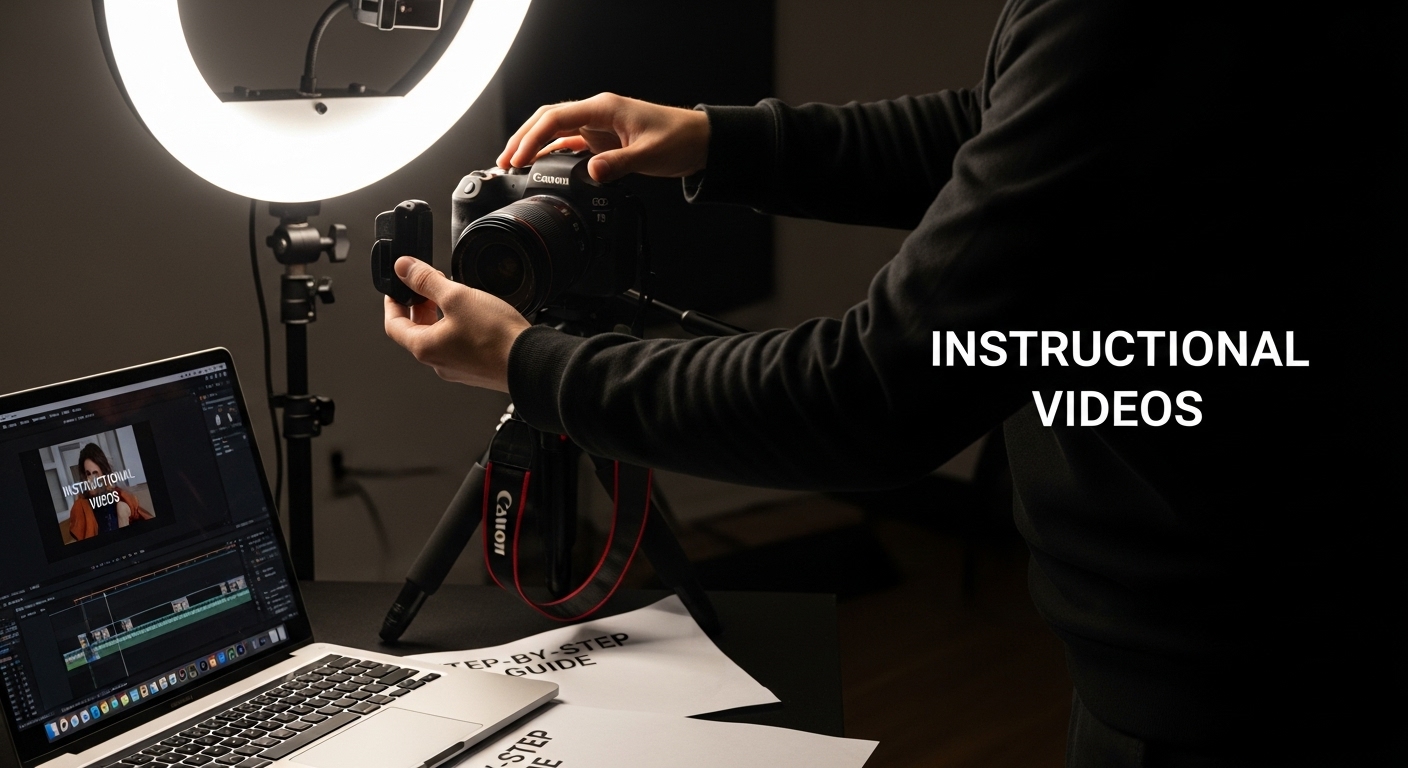
Instructional videos have become the go-to way for sharing knowledge quickly and effectively. More people are learning new skills this way, and audience engagement drops sharply after just 9 minutes, according to research from Ohio State University. That sounds discouraging if you want to cover big topics, right? Only, the real secret is that short, tightly focused videos actually help viewers learn faster and remember more. Surprised? The keys to success are all in the planning and execution.
Table of Contents
Quick Summary
| Key Point | Explanation |
|---|---|
| 1. Define Your Target Audience | Understand who will watch your content and what they need to learn. This sets the foundation for your video production. |
| 2. Create a Detailed Content Outline | Structure your content logically to ensure viewers can easily follow and absorb the material being taught. |
| 3. Invest in a Professional Recording Environment | Choose a quiet, well-lit space and use good audio equipment to elevate video quality and viewer engagement. |
| 4. Maintain a Conversational Tone While Recording | Present the material as if speaking to a friend; this fosters a more relatable and engaging learning experience. |
| 5. Optimize for Publishing and Promotion | Use strategic metadata and share across relevant platforms to maximize reach and viewer engagement with your instructional content. |
Step 1: Define Your Target Audience and Objectives
- Step 1: Define Your Target Audience And Objectives
- Step 2: Plan Your Content And Script Effectively
- Step 3: Set Up Your Recording Environment
- Step 4: Record Your Video With Clarity
- Step 5: Edit Your Video For Professional Quality
- Step 6: Publish And Promote Your Instructional Video
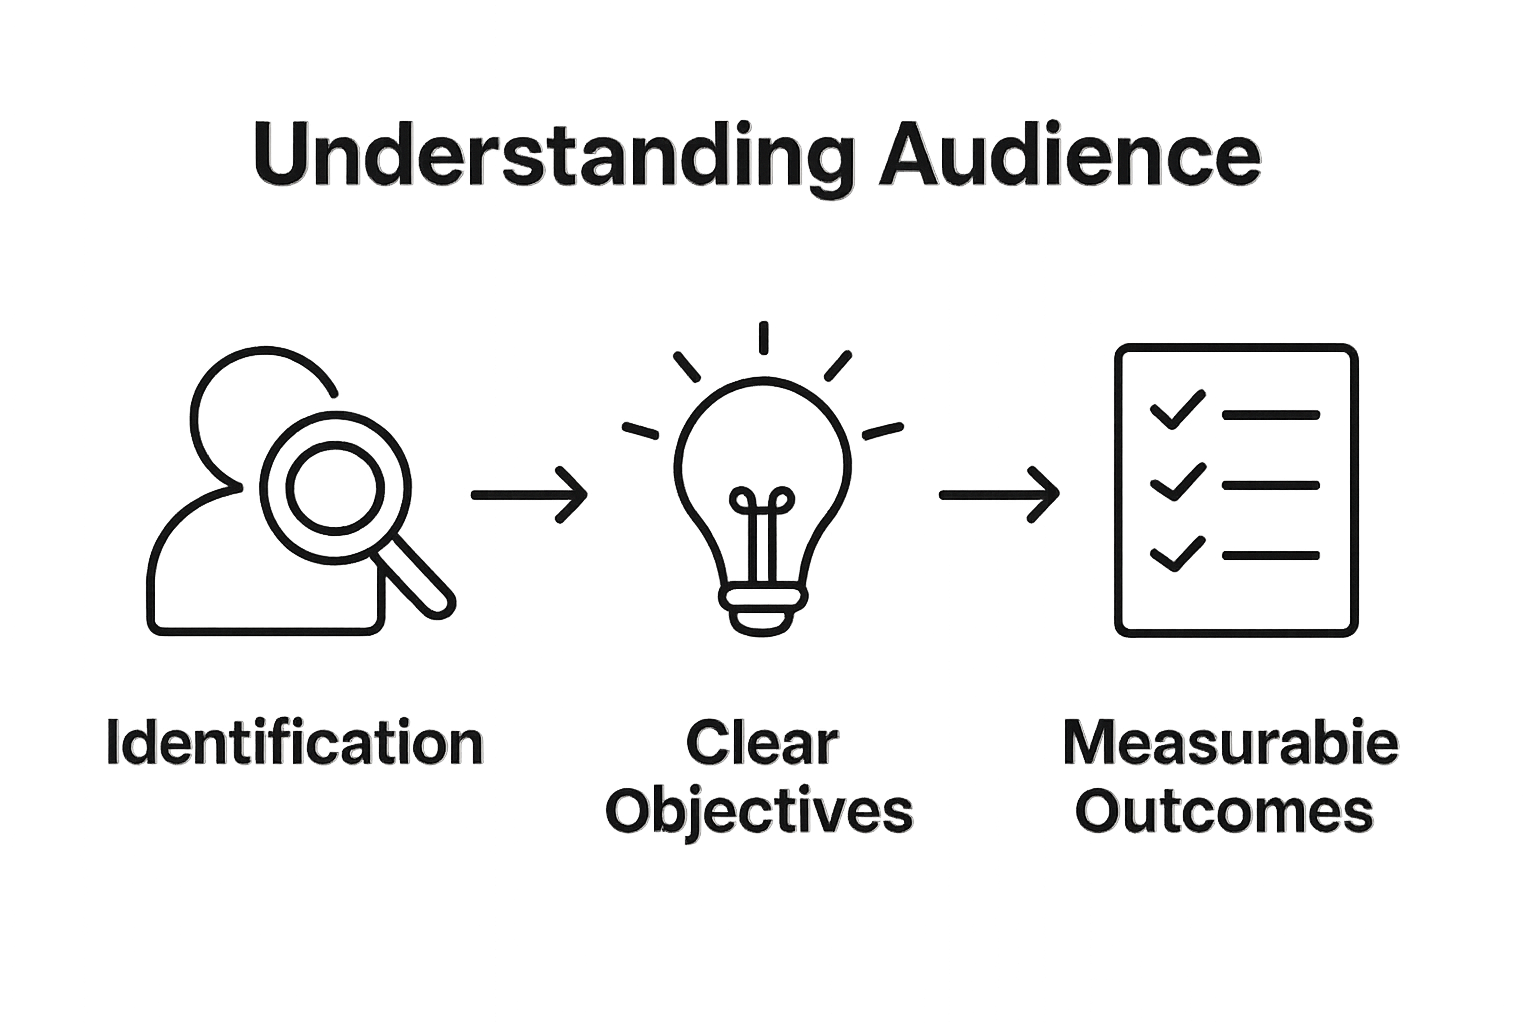
Creating an instructional video starts with understanding who will watch your content and what you want them to learn. This crucial first step determines the entire trajectory of your video production process. Audience identification is more than demographics it requires deep insight into their specific needs, learning preferences, and knowledge gaps.
Begin by conducting a comprehensive audience analysis. Imagine you are creating a tutorial about digital marketing strategies. Your target viewers might include small business owners, marketing students, or freelance professionals. Each group has unique expectations and prior knowledge levels. For instance, students might need foundational explanations, while experienced professionals want advanced tactical insights.
To effectively define your audience, consider gathering information through several research methods. University of Florida's educational research recommends analyzing demographic characteristics, educational backgrounds, and specific learning objectives. This means going beyond surface level descriptions and understanding their motivations, challenges, and information consumption preferences.
Once you understand your audience, crystallize your instructional objectives. These should be specific, measurable outcomes that answer the critical question: What exactly will viewers learn from this video? Transform broad goals into concrete skills or knowledge points. Instead of saying "Teach marketing techniques," specify "Viewers will understand three proven social media advertising strategies and how to implement them with a $50 daily budget."
Effective objective setting involves breaking down complex skills into digestible components. Consider creating a simple worksheet or mind map that outlines your primary learning goal, then deconstructs it into step by step achievements. This approach helps maintain clarity and ensures your instructional video remains focused and valuable.
Verify your audience and objective definition by asking these key questions:
- Does my target audience have a clear need for this content?
- Can I describe my ideal viewer in detailed, specific terms?
- Are my learning objectives concrete and measurable?
- Would my target audience find this video immediately useful?
By meticulously defining your target audience and objectives, you create a strong foundation for an impactful instructional video that resonates with viewers and delivers genuine value.
Step 2: Plan Your Content and Script Effectively
After defining your target audience and objectives, the next critical phase is developing a structured content plan and comprehensive script. Effective planning transforms your instructional video from a casual presentation into a powerful learning tool. This step requires strategic thinking, careful organization, and a focus on delivering clear, engaging content.
Begin by creating a detailed content outline that breaks down your primary learning objectives into logical, sequential modules. Think of this outline as a roadmap that guides viewers through complex information in digestible segments. For example, if you are teaching a technical skill, structure your content from foundational concepts to advanced techniques, ensuring each segment builds upon the previous one.
Boston University's Chemical Education division emphasizes that pre-production planning is more crucial than post-production editing. This means investing significant time in crafting a clear, concise script that communicates your message effectively. Write your script as if you are having a conversation with your audience, using natural language that feels approachable and engaging.
When scripting, focus on clarity and brevity. Avoid technical jargon that might confuse viewers, and instead use simple, direct language that explains complex concepts accessibly. Practice reading your script aloud to ensure it sounds conversational and flows smoothly. This technique helps identify awkward phrasing or overly complex explanations that might disconnect your audience.
Consider incorporating visual cues and demonstration notes directly into your script. These annotations help you plan not just what you will say, but how you will visually represent information. For instance, if explaining a software technique, note exactly where you will click, what screen you will show, and what specific actions you will demonstrate.
Verify your content plan and script by checking these critical elements:
- Does the script align precisely with your initial learning objectives?
- Can a viewer follow the content without getting confused?
- Have you simplified complex concepts into understandable language?
- Does the script maintain an engaging, conversational tone?
A well-planned script is your blueprint for creating an instructional video that educates, engages, and empowers your audience. Take the time to craft it meticulously, and your final video will reflect that careful preparation.
Step 3: Set Up Your Recording Environment
Creating a professional recording environment is crucial for producing high-quality instructional videos that engage and inform your audience. Your recording space can dramatically impact the perceived quality of your content, transforming an amateur production into a polished learning experience. Think of your recording environment as a stage where every detail contributes to your video's overall effectiveness.
Champlain College's Center for Learning & Teaching emphasizes the critical importance of selecting and preparing the right recording space. Start by identifying a quiet, controlled area with minimal background noise. Home offices, dedicated study rooms, or even a carefully arranged bedroom can work perfectly. Avoid spaces near windows facing busy streets, kitchen areas with potential interruptions, or rooms with echo-prone hard surfaces.
Lighting plays a pivotal role in creating a professional visual experience. Natural, diffused light works best, so position yourself facing a window with soft, indirect sunlight. If natural light is unavailable, invest in affordable ring lights or softbox lighting that provides even, flattering illumination. Avoid harsh overhead lights or backlighting that creates unflattering shadows and reduces video clarity.
Your audio setup requires equally meticulous attention. While smartphone cameras can capture decent video, investing in an external microphone significantly improves sound quality. USB microphones or lavalier clips provide crisp, clear audio that makes your instructional content sound professional. Test your audio by recording a short sample and listening critically for background noise, echo, or muffled sounds.
Consider your background carefully. A clean, uncluttered space communicates professionalism and prevents viewer distraction. Choose a neutral wall or set up a simple backdrop that complements your content without competing with it. If you're teaching a technical subject, a bookshelf or minimalist workspace can add credibility. For more creative topics, a carefully arranged background might enhance your presentation.
Verify your recording environment by checking these essential criteria:
- Is the space quiet with minimal potential for interruptions?
- Does the lighting provide clear, even illumination?
- Have you tested audio quality with a short recording?
- Is the background clean and professionally appropriate?
- Can viewers focus on you and your content without visual distractions?
A well-prepared recording environment sets the stage for an instructional video that looks professional, sounds clear, and keeps viewers engaged from start to finish.
Step 4: Record Your Video with Clarity
Recording your instructional video marks the transition from planning to actual creation. This step transforms your carefully crafted script into a dynamic learning experience, requiring a blend of technical skill and authentic presentation. The goal is to capture content that feels both professional and genuinely engaging.
The Ohio State University's Teaching and Learning Resource Center recommends keeping instructional videos concise, ideally between 6-9 minutes, as student engagement dramatically drops in longer recordings. Before starting your full recording, do several practice runs to build confidence and smooth out your delivery. Treat these practice sessions as rehearsals, paying attention to your speaking pace, tone, and body language.
Approach your recording with a conversational yet structured mindset. Imagine you are explaining the concept to a friend who is genuinely interested but needs clear, step by step guidance. Speak naturally, but maintain a clear and deliberate pace. Avoid reading directly from your script, which can sound robotic. Instead, use your script as a roadmap, allowing room for spontaneity and personal expression.
Technical considerations are crucial during recording. Position your camera at eye level to create a direct, personal connection with viewers. If using a smartphone, use the rear camera for superior image quality. Maintain a consistent distance from the camera, typically about an arm's length away. This positioning helps viewers feel like you are speaking directly to them while ensuring you remain fully in frame.
Be prepared for imperfections. Professional instructional videos are not about flawless performance, but authentic communication. If you stumble or need to restart a segment, simply pause, take a breath, and begin again. Most video editing software makes it easy to cut and reassemble your recording, so don't get discouraged by minor mistakes.
Verify the quality of your recording by checking these essential criteria:
- Does the video maintain clear focus throughout?
- Is the audio crisp and free from background noise?
- Do you sound natural and engaging?
- Have you kept the content within the recommended time frame?
- Does the recording effectively communicate your learning objectives?
Remember, your first recording might not be perfect, and that's completely normal. Each take will improve your comfort and skill, bringing you closer to creating an exceptional instructional video.
The following checklist summarizes essential criteria to verify before recording your instructional video, helping ensure a professional and engaging result.
| Verification Criteria | What to Check for |
|---|---|
| Video Focus | Is the video consistently in clear focus from start to finish? |
| Audio Quality | Is the audio crisp, clear, and free from background noise? |
| Presentation Style | Do you sound natural, engaging, and conversational? |
| Length | Is the content within the recommended 6-9 minute timeframe? |
| Objective Alignment | Does the recording effectively communicate the learning goals? |
Step 5: Edit Your Video for Professional Quality
Editing transforms raw video footage into a polished, professional instructional resource. This critical stage is where good content becomes great, allowing you to refine your message, remove distractions, and create a seamless learning experience. Think of editing as the final polish that elevates your instructional video from amateur to expert.
The University at Albany's Knowledge Network emphasizes the importance of strategic editing to enhance coherence and engagement. Begin by watching your entire raw recording, taking notes on segments that need improvement. Look for unnecessary pauses, verbal stumbles, background noises, or moments where your explanation could be clearer. Professional editing is about creating a smooth, focused narrative that keeps viewers attentive.
Select the right editing software based on your skill level and budget. For beginners, free tools like OpenShot or iMovie provide robust editing capabilities. More advanced creators might opt for Adobe Premiere Pro or Final Cut Pro. Regardless of your chosen tool, focus on three primary editing objectives: trimming unnecessary content, enhancing visual clarity, and maintaining a consistent, engaging pace.
Consider adding visual enhancements that support your instructional content. Screen recordings, text overlays, and simple graphics can help clarify complex concepts. For technical tutorials, zoom in on specific screen areas to highlight important details. When explaining step by step processes, use subtle transitions between segments to maintain viewer engagement. However, avoid over-editing – your goal is to enhance, not distract from, the core educational content.
Audio quality is equally crucial during editing. Use audio editing tools to normalize sound levels, remove background noise, and ensure consistent volume throughout the video. Many editing software packages include noise reduction and audio enhancement features that can dramatically improve sound quality with minimal effort.
Verify your editing quality by checking these essential criteria:
- Does the video flow smoothly without jarring transitions?
- Have you removed all unnecessary pauses and mistakes?
- Are visual and audio elements clear and professional?
- Does the edited video maintain the original learning objectives?
- Would you be engaged watching this as a learner?
Remember, great editing is often invisible. Your viewers should feel informed and engaged, not distracted by technical production elements. Each careful edit brings you closer to creating an exceptional instructional video that truly connects with your audience.
Here is a quick comparison of common video editing software options mentioned, including their features and best use cases.
| Editing Tool | Skill Level | Key Features | Best For |
|---|---|---|---|
| OpenShot | Beginner | Free, basic edits, user-friendly interface | Simple videos, new creators |
| iMovie | Beginner | Free (Mac), easy timeline editing, transitions | Apple users, basic projects |
| Adobe Premiere Pro | Intermediate+ | Advanced editing, effects, pro features | Professional editing, advanced |
| Final Cut Pro | Intermediate+ | Mac-based, fast rendering, advanced options | Mac pros, complex projects |
Step 6: Publish and Promote Your Instructional Video
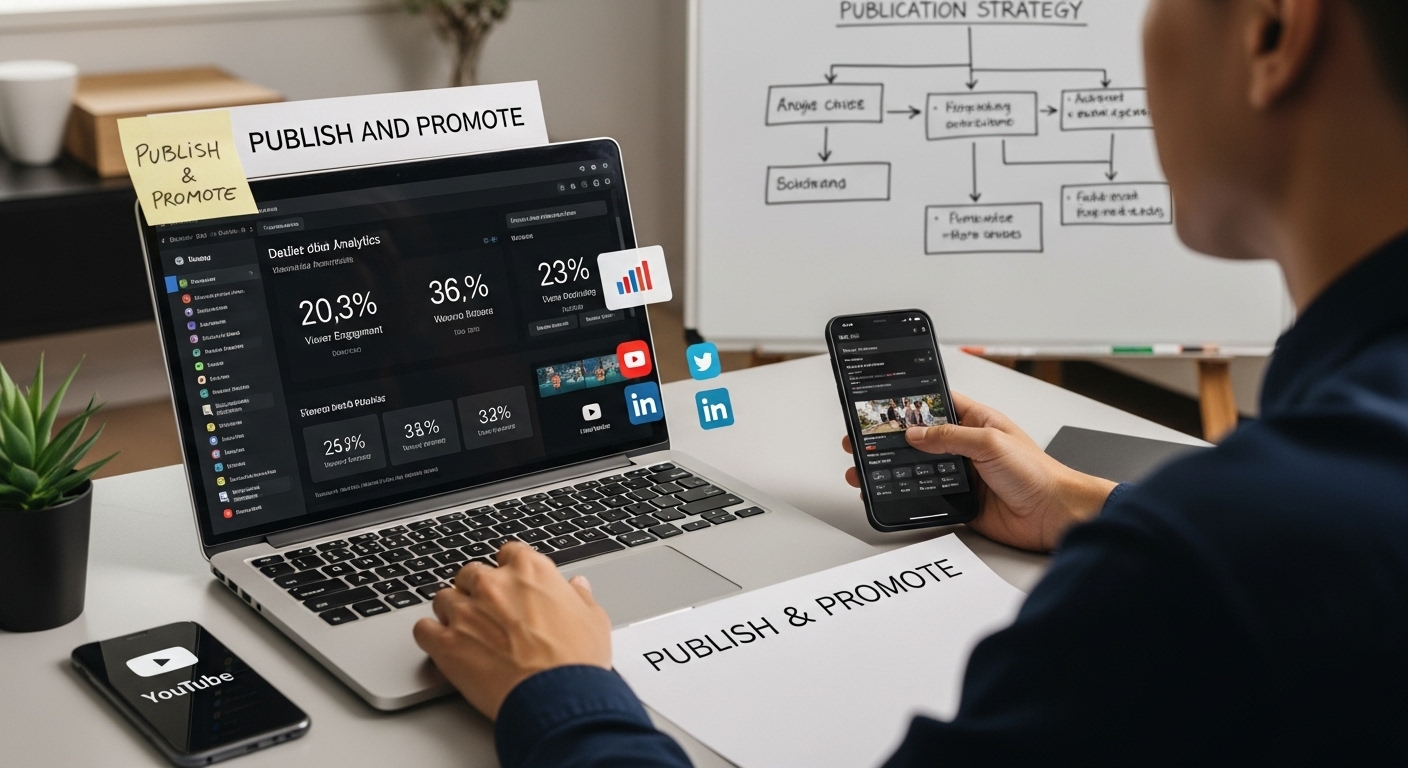
Publishing your instructional video is more than simply uploading content online. This final step transforms your carefully crafted video from a personal project into a valuable resource for your target audience. The right publication strategy can dramatically increase your video's reach, engagement, and impact.
The National Institutes of Health emphasizes the importance of strategic video sharing across multiple platforms. Begin by selecting platforms that align with your target audience. If you are creating professional training content, LinkedIn and YouTube might be ideal. For academic tutorials, consider embedding videos in learning management systems or institutional repositories.
Optimize your video's discoverability through strategic metadata. Craft a compelling title that clearly communicates the video's value, using keywords your audience might search. Write a detailed description that provides context, includes relevant keywords, and highlights the key learning outcomes. Add relevant tags that help potential viewers find your content more easily. This approach improves search engine optimization and increases the likelihood of your video reaching the right audience.
Consider creating a comprehensive distribution strategy that extends beyond initial publication. If you are teaching a professional skill, share the video in relevant online communities, industry forums, and professional networking groups. For educational content, reach out to instructors or institutions who might find your video valuable. Create short teaser clips for social media platforms to generate interest and drive viewers to the full instructional video.
Engagement doesn't stop after publishing. Monitor viewer feedback and analytics to understand how your audience receives the content. Most video platforms provide detailed insights about view duration, audience retention, and viewer demographics. Use these metrics to refine future instructional videos, understanding what resonates with your audience and what might need improvement.
Verify the effectiveness of your publication strategy by checking these key indicators:
- Have you shared the video on multiple relevant platforms?
- Does the title and description clearly communicate the video's value?
- Have you optimized metadata for search discoverability?
- Are you tracking viewer engagement and feedback?
- Have you created additional promotional content to drive views?
Remember, publishing is not just about making your video available, but about creating pathways for your target audience to discover, engage with, and benefit from your instructional content.
Turn Your Step-by-Step Instructional Videos Into Time Saved with Boom
Are you stuck spending hours scripting, recording, and perfecting every instructional video? The article highlights how audience clarity, scripting, pro-level editing, and strategic sharing are crucial for true impact. But let us be honest, these stages often demand more time and tech skills than most creators, trainers, and remote teams have to give. If you want to skip the guesswork and create polished instructional content without the classic headaches, there’s an easier solution.
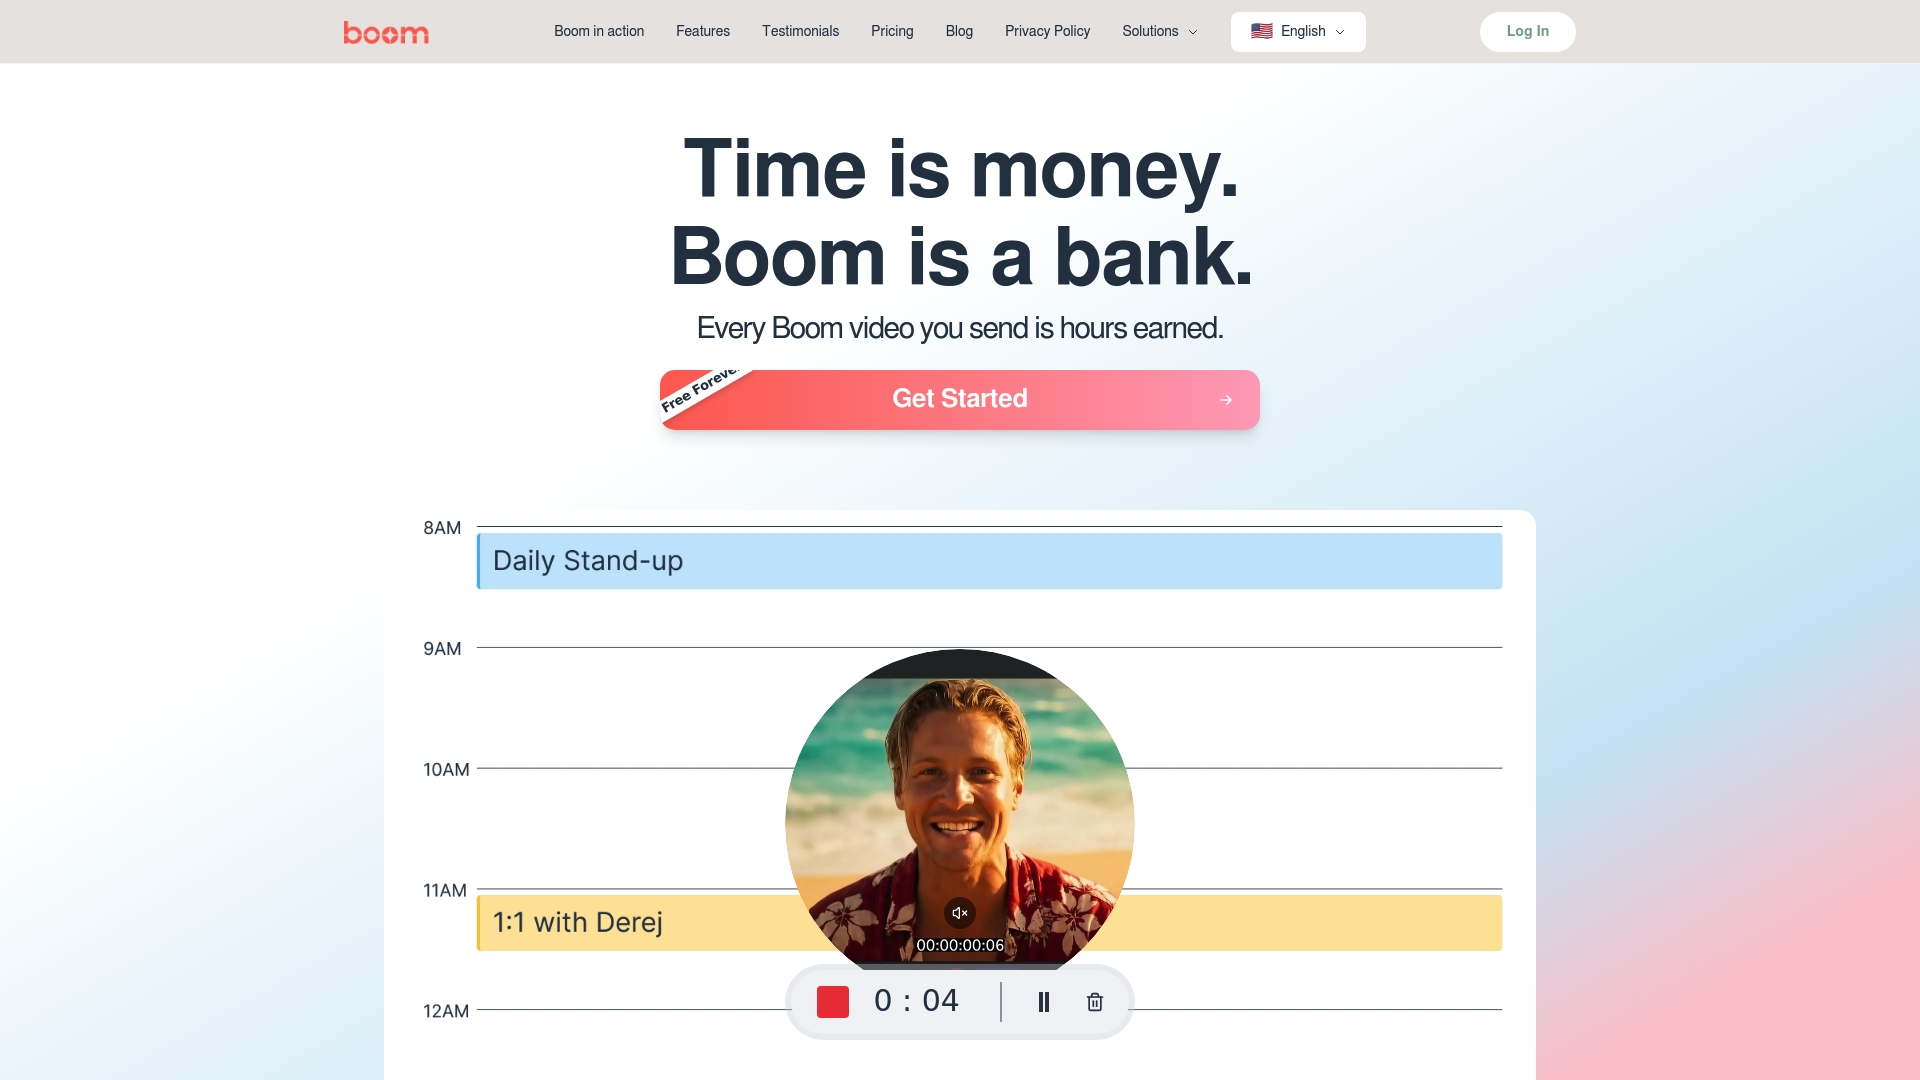
Meet Boom, your async video toolkit that transforms ideas into stunning, on-brand tutorials in record time.
With features like instant AI-powered voice-to-video, auto-scripting for clear learning objectives, pro-grade multilingual dubbing, and effortless branding, you get quality results that match your goals—without endless retakes or complicated setups. Just record your voice. Our AI handles the visuals, script, and style. Share and collaborate instantly, all without another meeting or scheduling hassle.
Ready to reclaim your time and create instructional videos that truly engage your audience? Experience how Boom can help you teach, explain, demo, and update—all in minutes. Start for free today at boomshare.ai and make every video a win for your productivity and your viewers.
Frequently Asked Questions
What are the first steps to creating an instructional video?
Start by defining your target audience and setting clear instructional objectives. Understand who will be watching and what exactly you want them to learn.
How long should my instructional video be?
Aim for a duration of 6-9 minutes, as viewer engagement tends to drop significantly in longer videos.
What should I include in my video script?
Your script should be clear and concise, using natural language. Include visual cues and demonstration notes to enhance clarity and viewer engagement.
How can I effectively promote my instructional video after publishing?
Share your video on multiple relevant platforms, optimize its metadata for search visibility, and create promotional content like teaser clips to drive interest.
About the Author
Birju
Senior Software Engineer.