Step by Step Lesson Recording: Guide to Perfect Video Lessons
Master step by step lesson recording with this practical guide. Follow each stage to create, edit, and share high-quality, on-brand video lessons easily.
Aditya
Author
Step by Step Lesson Recording: Guide to Perfect Video Lessons
Most American educators know that almost 60 percent of students prefer video lessons over traditional methods. Setting up your own instructional video might seem daunting at first but creating a high quality lesson recording workspace is the foundation for effective teaching. By understanding how to organize your space, build scripts and harness the latest AI tools, you can deliver polished educational content that keeps learners engaged from start to finish.
Table of Contents
Quick Summary
| Key Point | Explanation |
|---|---|
| 1. Choose a Quiet Recording Space | A quiet environment reduces background noise, ensuring clear audio for better instructional quality. Select a plain backdrop to avoid distractions. |
| 2. Develop a Detailed Script Using AI | Use AI tools to outline your lesson by providing context and structure, refining your content to make it clear and engaging for your intended audience. |
| 3. Utilize Voice-to-Video Tools | Select tools that sync audio with visuals automatically, allowing smoother transitions and maintaining student engagement without excessive editing. |
| 4. Incorporate Professional Branding | Use consistent colors, fonts, and logos to create a polished look that represents your brand and keeps viewer attention focused on the lesson. |
| 5. Review and Edit Before Publishing | Critically assess your recording for clarity and flow, using editing tools to enhance audio and visual quality before sharing with students. |
Step 1: Set Up Your Lesson Recording Workspace
- Step 1: Set Up Your Lesson Recording Workspace
- Step 2: Generate a Focused Script Using AI Tools
- Step 3: Record Your Lesson with Voice-to-Video Features
- Step 4: Enhance the Video with Branding and Visuals
- Step 5: Review, Edit, and Publish Your Recorded Lesson
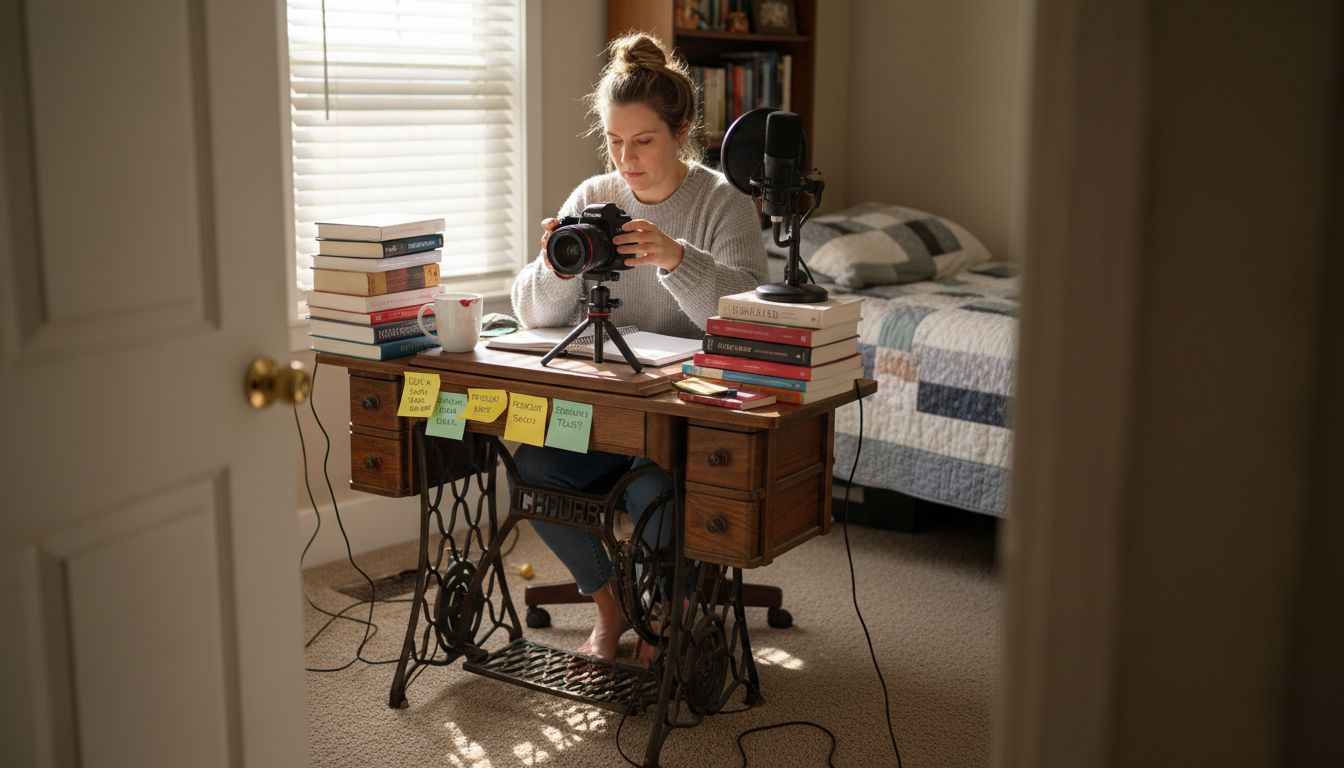
Creating an optimal lesson recording environment requires strategic planning and attention to multiple details. Your workspace will significantly impact the quality and professionalism of your instructional videos.
Start by selecting a quiet location where external noise can be minimized. Sound management is critical for clear instructional recordings, so choose a room away from high traffic areas or potential interruptions like household appliances. Position your recording setup near a plain wall or a clean background that will not distract viewers from your lesson content. Natural lighting works best positioning yourself facing a window or using soft ambient lighting that illuminates your face evenly without creating harsh shadows.
Ensure your recording equipment is positioned correctly for optimal framing and sound quality. Your camera should be positioned at eye level to create a direct connection with viewers a webcam or external camera mounted on a stable surface or tripod works perfectly. Test your audio using headphones or an external microphone to guarantee crisp sound clarity. Consider using sound absorbing materials like curtains or foam panels behind you to reduce echo and improve overall sound quality. A professional setup demonstrates your commitment to delivering high quality educational content and helps students stay engaged with your lesson.
ProTip: Always do a test recording before your actual lesson to check lighting angles sound levels and overall presentation. This small step can help you catch and resolve potential technical issues before going live.
Step 2: Generate a Focused Script Using AI Tools
Turning your lesson ideas into a structured script requires strategic planning and intelligent use of AI technology. Crafting effective prompts for generative AI tools can transform your raw concept into a polished instructional narrative.
Begin by defining the core objectives of your lesson. Provide clear context to the AI tool about your target audience, learning goals, and desired tone. Be specific about the subject matter technical complexity and key points you want to communicate. For instance instead of a vague prompt like create a lesson about marketing use a detailed instruction such as generate a 5 minute beginner level script explaining digital marketing fundamentals for small business owners focusing on social media strategies and practical implementation tips.
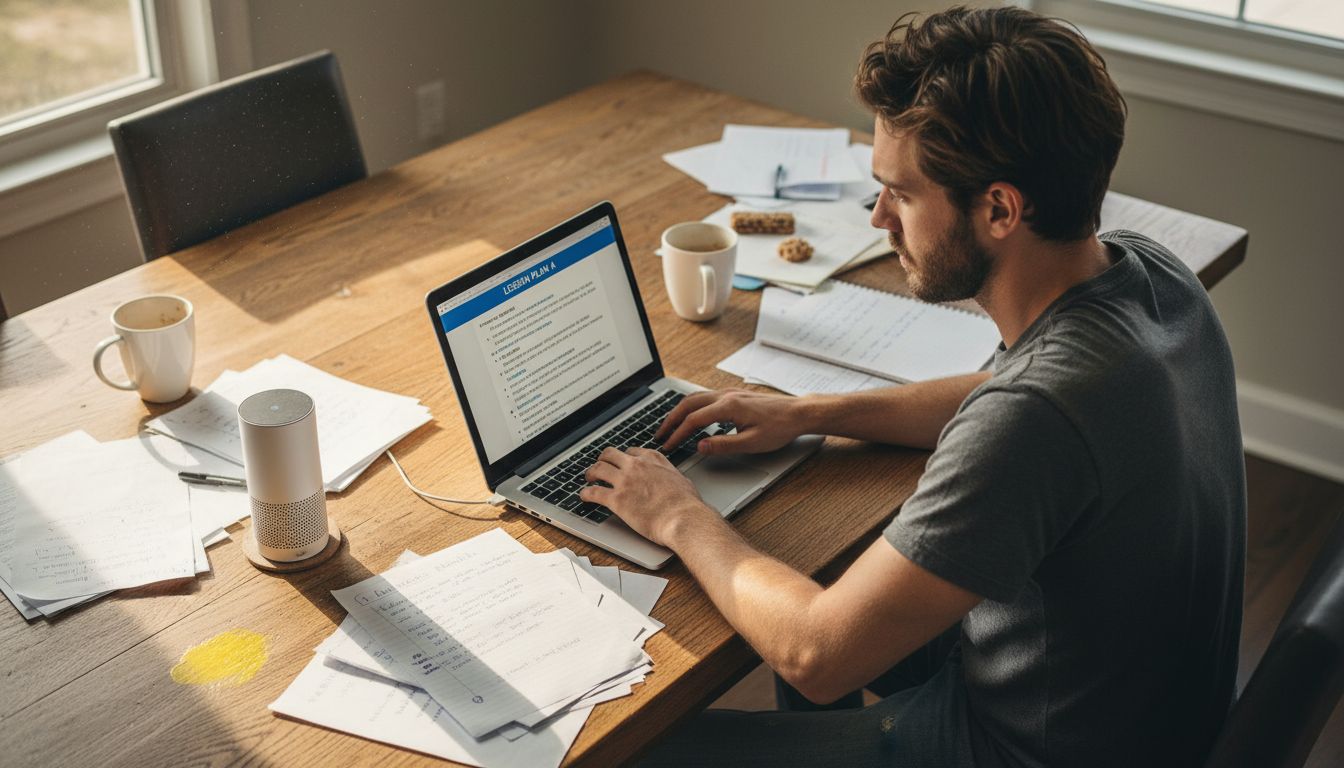
Experiment with different prompt structures to refine your script. Most AI tools allow multiple iterations so do not hesitate to regenerate and adjust the content. Break complex topics into smaller sections and generate scripts for each segment. A structured approach helps maintain coherence and clarity throughout your instructional video. Pay attention to the AI generated script nuances ensuring the language remains conversational yet informative. Always review and personalize the output adding your unique teaching style and specific examples that resonate with your students.
ProTip: Always fact check AI generated content and infuse your personal expertise to create truly engaging educational material. The AI tool provides a framework but your professional insights transform it into a compelling learning experience.
Step 3: Record Your Lesson with Voice-to-Video Features
Transforming your carefully crafted script into an engaging video lesson requires understanding the nuanced features of modern recording tools. Creating effective instructional recordings involves more than just pressing the record button.
Start by selecting a voice-to-video tool that automatically syncs your spoken content with appropriate visual elements. Position your microphone to capture clear audio and ensure your camera framing highlights your presence effectively. Most advanced tools allow you to speak naturally while the AI intelligently matches your narration with relevant visuals graphics and text overlays. This approach eliminates the need for manual editing and helps maintain a smooth instructional flow. Focus on delivering your content conversationally maintaining eye contact with the camera and speaking with natural enthusiasm.
Experiment with different recording modes and features. Some voice-to-video platforms offer real time transcription multilingual dubbing and automatic slide synchronization. These advanced capabilities can transform a standard lecture into an interactive learning experience. Modern video communication methods have revolutionized how educational content is created and consumed allowing educators to reach students more effectively than ever before.
ProTip: Always do a quick test recording to check audio levels visual clarity and overall presentation before producing your final lesson video. Small adjustments can significantly improve the learning experience for your students.
Step 4: Enhance the Video with Branding and Visuals
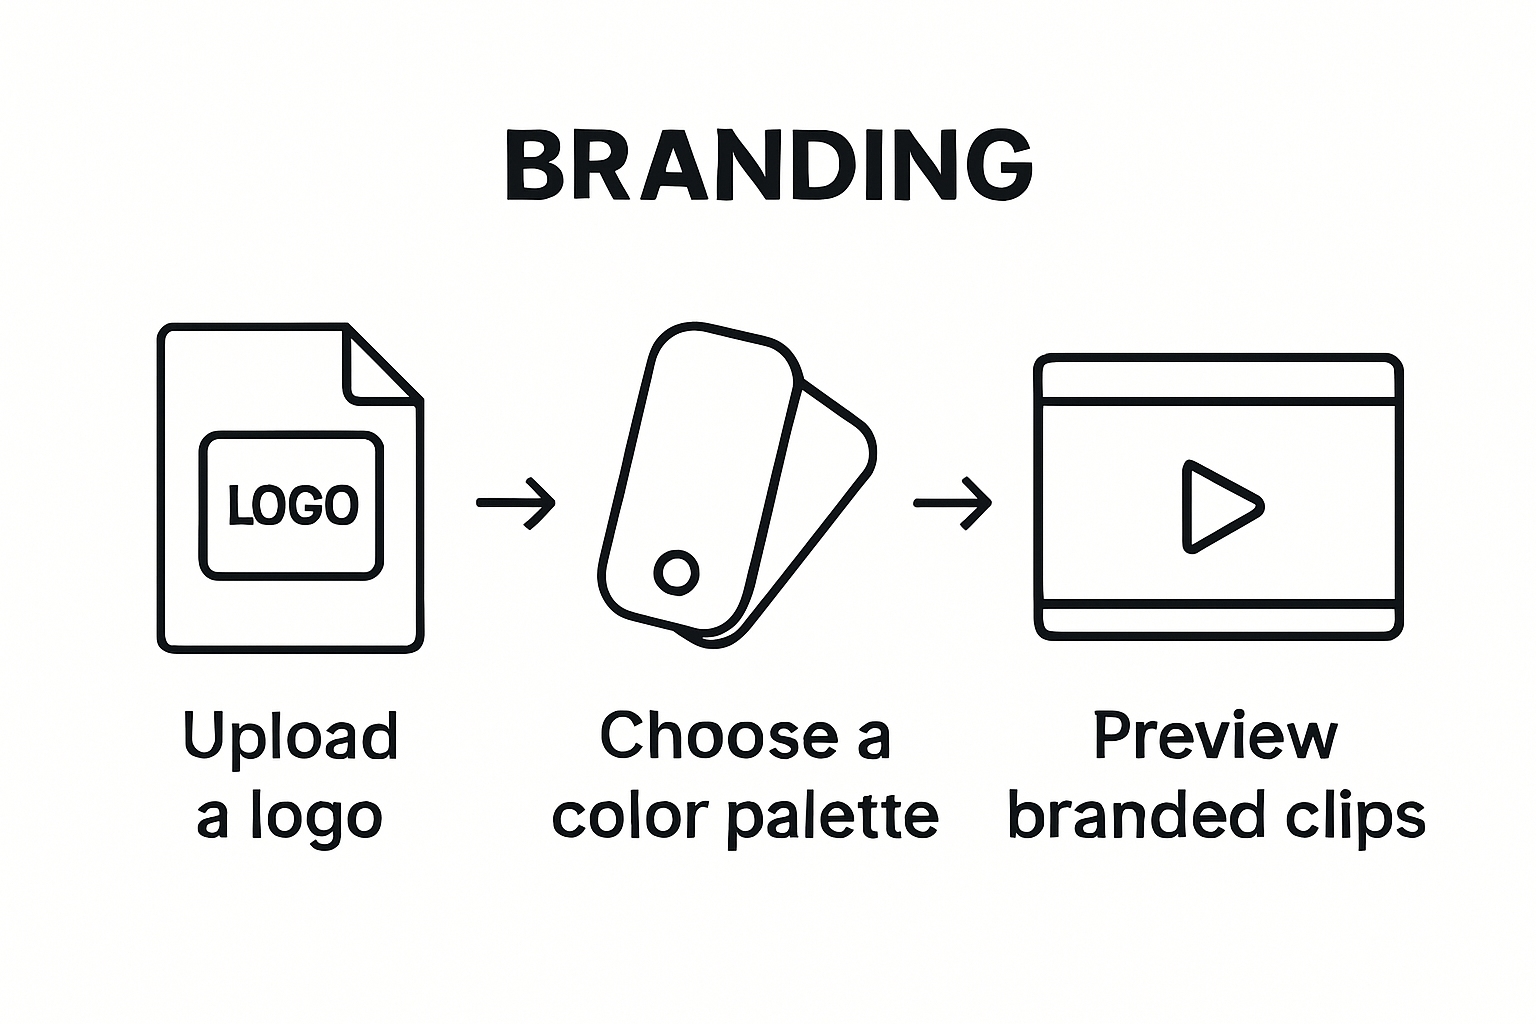
Transforming your lesson recording from basic to professional requires strategic visual design and thoughtful branding elements. Setting up the recording area to focus on relevant content is crucial for maintaining student engagement and creating a polished final product.
Begin by selecting a consistent visual theme that reflects your personal or institutional brand. Choose color schemes typography and graphic elements that complement your lesson content without overwhelming the viewer. Modern video tools offer template libraries and automatic branding features that can instantly elevate your recordings professional appearance. Integrate your logo watermarks or consistent graphic overlays that reinforce your brand identity. Consider using animated transitions subtle background elements or themed graphics that enhance the learning experience while maintaining a clean professional look.
Advanced video creation platforms now offer intelligent design suggestions and optimized visual strategies for content creators. Experiment with different visual approaches to find what resonates most with your audience. Some tools allow you to test multiple visual variations to determine which design elements generate the most student engagement. Pay attention to visual hierarchy ensuring that graphics text and your on screen presence work together seamlessly to communicate your lesson content effectively.
ProTip: Always preview your branded video from a student perspective. Ask yourself if the visual elements enhance or distract from the core learning objectives. Less is often more when it comes to professional educational content.
Step 5: Review, Edit, and Publish Your Recorded Lesson
The final stage of creating an instructional video involves careful review editing and strategic publishing to ensure your content meets professional standards. Recording review processes are critical for maintaining educational quality and ensuring your lesson effectively communicates its intended learning objectives.
Begin by watching your entire recording with a critical eye. Look for moments where your explanation could be clearer technical glitches or sections that might confuse students. Most modern video editing tools offer precise editing features allowing you to trim unnecessary segments adjust pacing and enhance overall video flow. Pay special attention to audio clarity visual consistency and the seamless transition between different sections of your lesson. Use AI powered editing tools that can automatically suggest cuts improve sound quality and even generate subtitles to make your content more accessible.
When preparing to publish your lesson choose a platform that supports your specific educational goals. Lecture recording and publishing strategies vary depending on your target audience whether its students colleagues or a broader online learning community. Consider privacy settings audience access options and potential sharing mechanisms. Some platforms allow you to generate unique links track viewer engagement and receive feedback directly within the video interface. Remember that the final published version should represent your best professional work reflecting your expertise and commitment to effective teaching.
ProTip: Always preview your final edited video from a students perspective. Ask yourself if the content is clear engaging and would help you understand the subject if you were learning it for the first time.
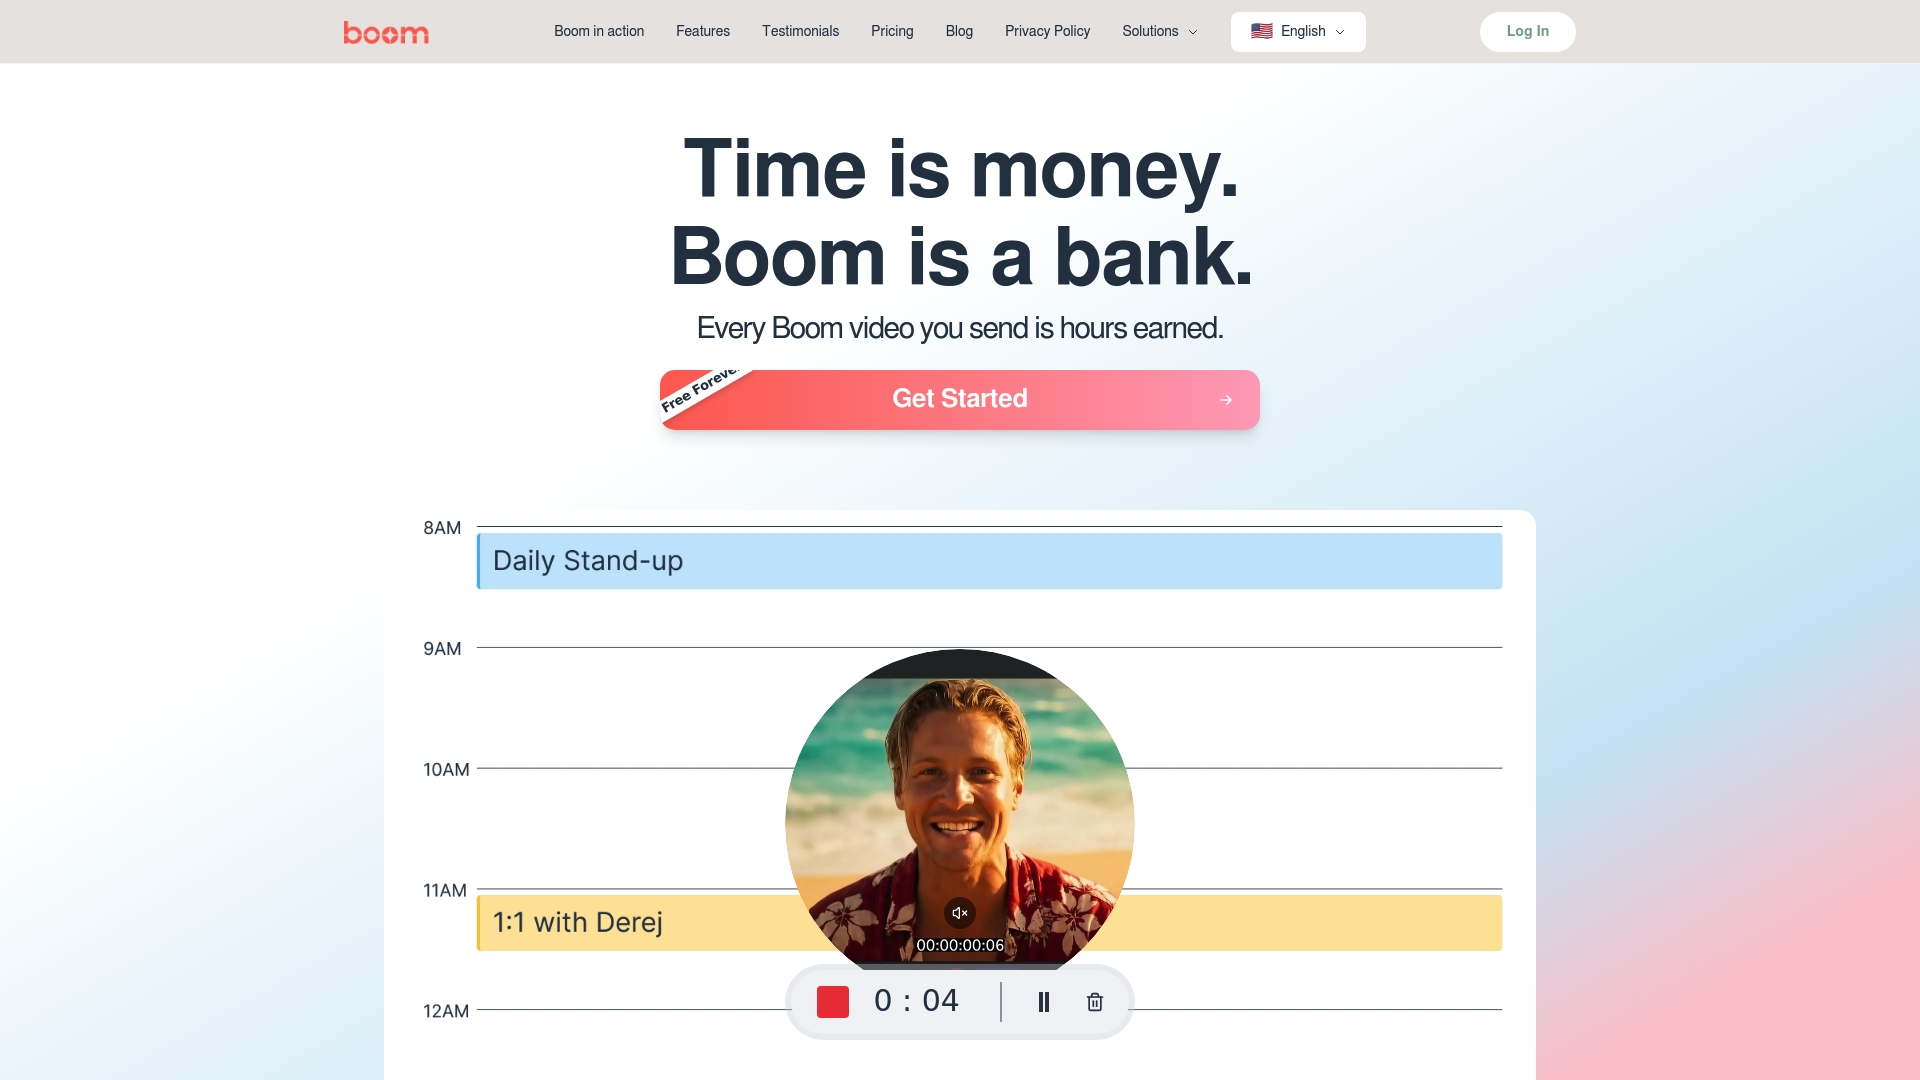
Unlock Effortless Lesson Recording with Boom
Creating clear and professional lesson videos can be challenging. From setting up your recording space to scripting, recording, and polishing your videos, each step demands time and technical skills. If you want to save hours and avoid the frustration of manual video editing or complicated tools, Boom offers the perfect solution. With features like voice-to-video recording, AI-powered auto-scripting, and instant on-brand templates, you can focus on teaching while Boom handles the heavy lifting.
Why struggle with multiple steps when you can streamline your entire lesson creation process at once? Boom’s async-first design eliminates scheduling headaches so you can record and share your final lesson videos anytime — no live meetings required. Plus, its AI voiceover and multilingual dubbing options let you reach students around the world effortlessly. Explore how Boom can transform your lesson recording workflow by visiting Boom Landing Page.
Take charge of your teaching time today. Visit Boom and start creating polished, engaging lesson videos faster with AI-powered tools built for educators just like you. Don’t wait to elevate your content and say goodbye to hours lost in editing and reshoots.
Frequently Asked Questions
How can I set up a quiet recording workspace for my lesson videos?
To create a quiet recording workspace, choose a room away from noisy areas and interruptions. Position your recording setup near a plain background and ensure good lighting by facing a window or using soft ambient lights.
What should I include in my script for video lessons?
Your script should define the core objectives and key points of the lesson, specific to your target audience. Use detailed prompts when utilizing AI tools to ensure the generated content meets your instructional goals.
What features should I look for in a voice-to-video recording tool?
Select a voice-to-video tool that automatically syncs audio with visuals and offers features like real-time transcription or slide synchronization. These capabilities can enhance the fluidity of your lesson and require less editing after recording.
How can I improve the branding and visuals in my lesson videos?
To enhance branding and visuals, choose a consistent theme that reflects your identity. Include your logo, use a cohesive color scheme, and make sure visual elements work together to support the learning content without overwhelming viewers.
What steps should I take when reviewing and editing my recorded lesson?
Begin by critically watching your entire recording to identify areas for improvement, such as unclear explanations or technical glitches. Use editing tools to trim unnecessary segments and ensure audio clarity, aiming for a polished final product that effectively communicates your lesson.
How can I effectively publish my recorded lesson?
When publishing your lesson, select a platform that aligns with your educational goals and consider privacy settings and audience access options. Preview your final video to ensure it’s clear and engaging, as if you were a student learning the material for the first time.
Recommended
About the Author
Aditya
Software Engineer.